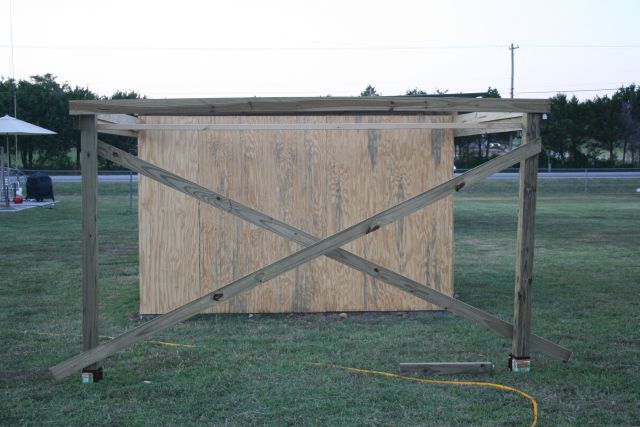
| First Corners |
|
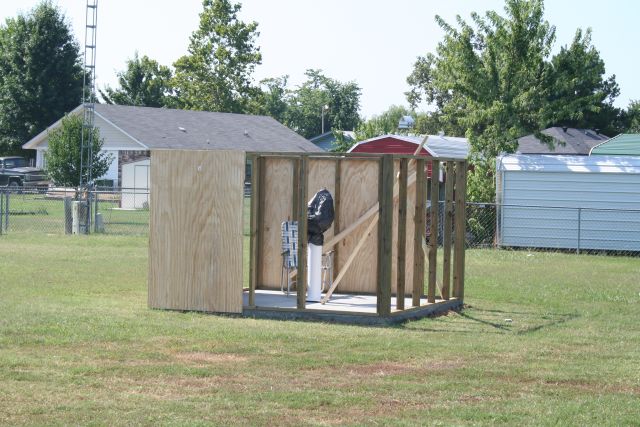
| Full sheets of plywood were nailed onto the corners for strength. |
The plywood sheets were checked for squareness and then nailed onto the framed building to pull the frame into square
and allow the braces to be removed. Although the sheets are full 48" width, they are only 72" tall. This
height was selected as I am only 69" tall and 72" will shield my vision. The cut edges went to the bottom where they
were the least critical.
| Roof Rail System Going Up |
|
| The west rail is completed and the east rail is being started. |
The rails on the building were double checked with a bubble level before being secured with 1/2" lag bolts to the walls
of the building. 8' 2X6's were used for the first rails on the sides of the building. The rest of the rails were
12' long allowing a 2' overlap on the building sides.
| Checking the Rail System for the First Time |
|
| Opening the roof for installation of the polycarb panels. |
The only problem I ran into was the inside of the rails were too snug and the frame was stubborn out on the frame.
This was remedied by nailing a thin runner onto the inside of the west rail and then adding the stop.
| Finished Roof |
|
| End trim is still needed here but the roof is completed. |
|
 |
|
|
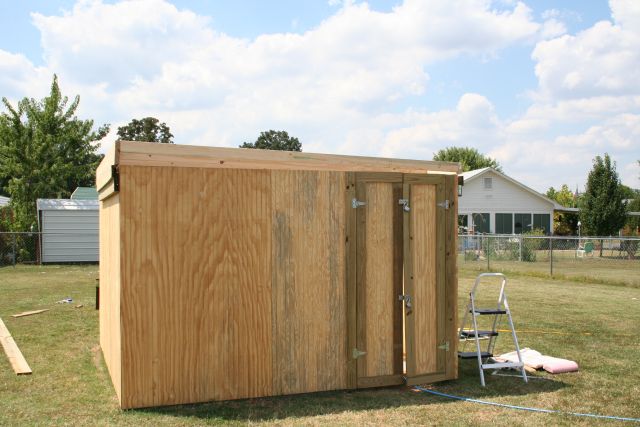
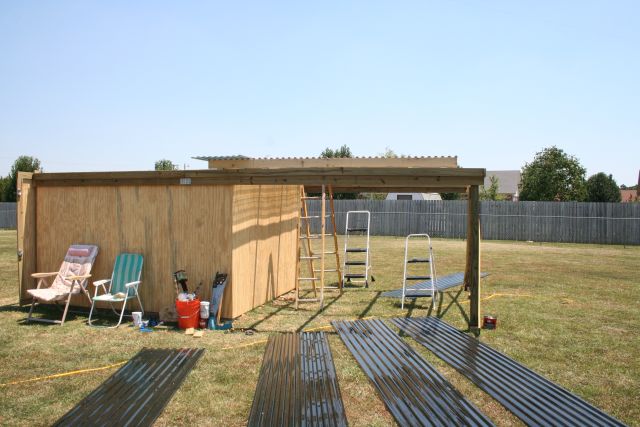
| Mostly Completed |
|
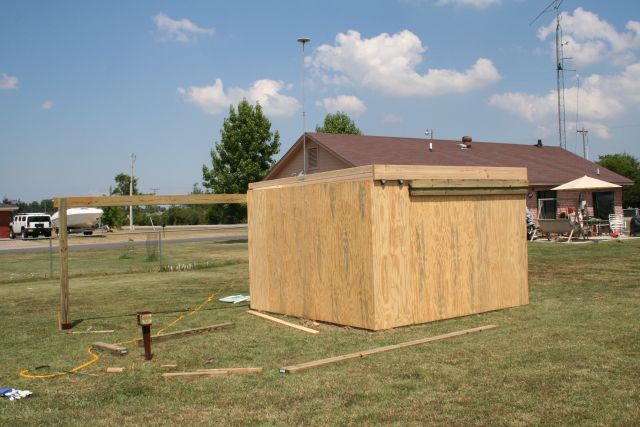
| The plywood is in place and door construction begins. |
The plywood siding is all in place. The two scraps left will wind up being the doors. Double doors are lighter,
easier to build and easier to hang. The doors overlap and a single screen door latch inside will hold
both shut during an observing session.
| West Side Rail |
|
| The west rail is in place at the start of the day. |
The completed west rail is fully visible. In itself it has very little weight and is very strong. Steel drive-in
4X4 stake pockets were used in place of burying the ends of the 4X4 corner posts. Pressufre treated lumber is sensitive
to being buried and the steel pockets will outlast the owner.
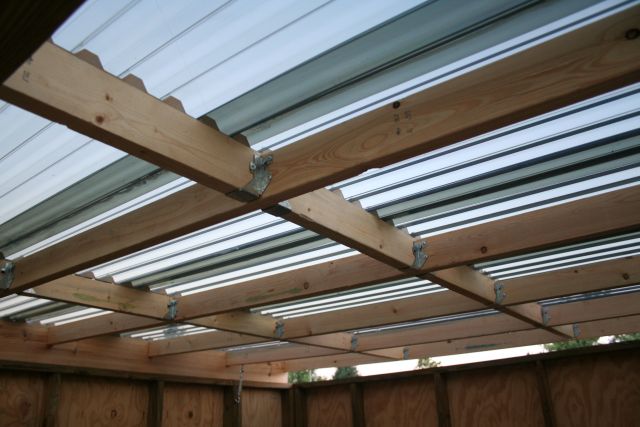
| Installing the Purlins |

|
| Andrea helps Grandad with the purlins between the rafters. |
The rafters are at 24" centers with a total of 10. Purlins were supported with galvanized steel holders and the
purlins individually measured and cut to length. The purlins were hung at about 3' spacings from the edges. They
provide a mounting surface for the polycarbonate sheets.
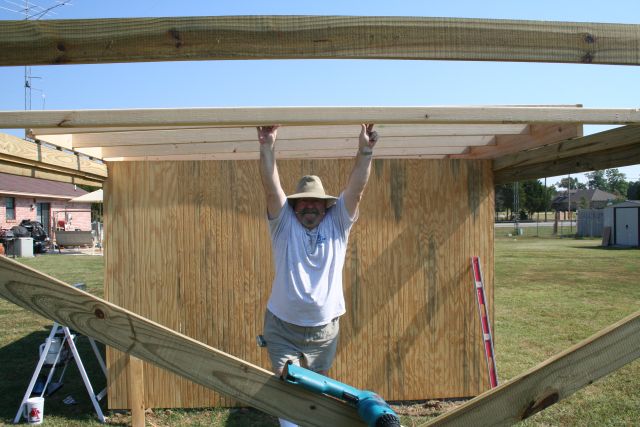
| Proud of the Work |
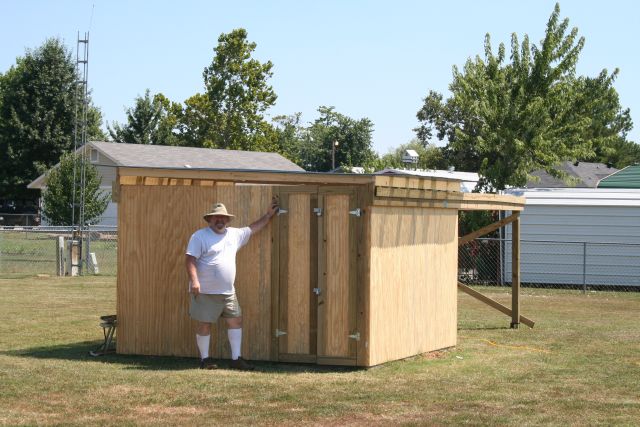
|
| My daughter caught me in a proud pose with the shed. |
|
|
|
|
|
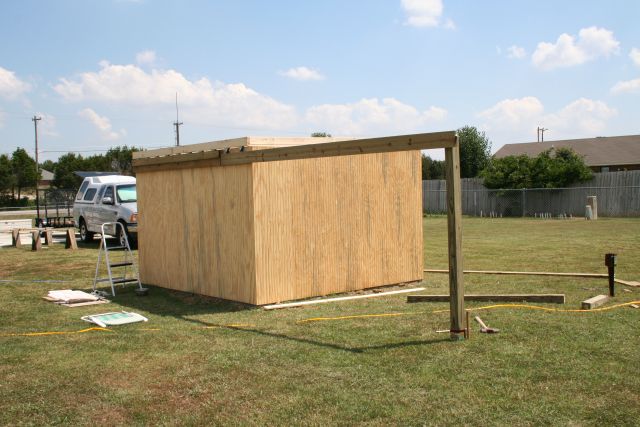
| Houston, We Have a Box! |
|
| The basic frame for the roof is already in place. Scrap left dictated double doors. |
The completed shed shell is ready for adding the rails for the roof. The roof frame itself is already in progress
and is visible on top the shed. The shed rails are pressure treated 2X6's and the straightest on the lumber company
shelves. They were laid out on a concrete pad and allowed to air dry for about 5 days before they were installed.
They were checked for straightness before installation.
| Completed Rail System |
|
| Untrimmed braces are all that remain to be done. |
Double top braced and cross bucked, the ends of the rails are unmoveable, even by someone as large as I am. As
the rail system will not be in use during stormy weather, the only time they will have to support weight is on calm nights
when I am observing. The building corners are also solid 4X4's so the frame is on 4X4 corners all the way around.
| Installing the Roof Panels |
|
| Polycarbonate sheeting for the roof is light weight and transparent but tinted to reduce heating. |
The tinted polycarbonate sheeting is rated at 35% transparency. It is waranteed to withstand 1/2" hail for 10 years.
Clear 100% silicon was used to seal the edges of the sheets and it is secured to the roof with a 1" screw every 4 inches along
the rafters and the purlins. It is not coming off. The total weight of the roof itself is less than 150 lbs.
It was really hot the day we put it on. The polycarb retained enough heat to kill the grass after only 3 hours.
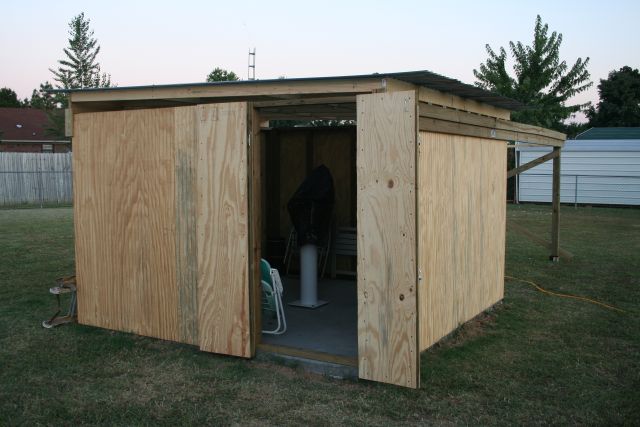
| From the Inside |
|
| A look of the roof detail from the inside. |
|
|
|
|
|